How To Install A Keyless Door Lock
- Remove Old Lock and Fit New Deadbolt
- Attach Reinforcement Plate and Strike Plate
- Install Wireless Door Lock
- Program Key Codes
- Answering Top 5 Questions
1. Remove The Old Lock And Fit New Keyless Door Deadbolt
The install is pretty similar to most other deadbolts and only requires a screwdriver, a drill and maybe a chisel if you have some fit issues. First I started off by removing the old lock and trying to install the Schlage deadbolt in it’s place.
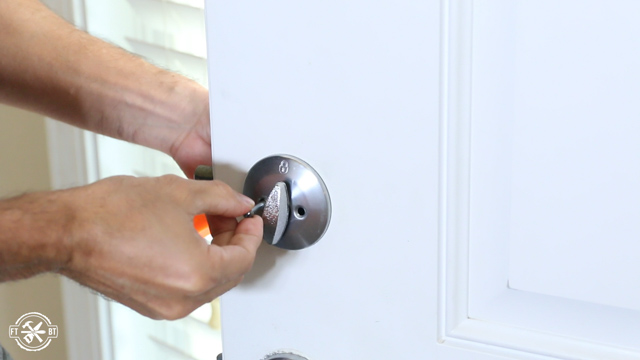
Right off the bat I had a small fitment issue as the mounting plate was a bit too big. To expand the recess a little I traced the outline of the plate and chiseled away material until it fit.
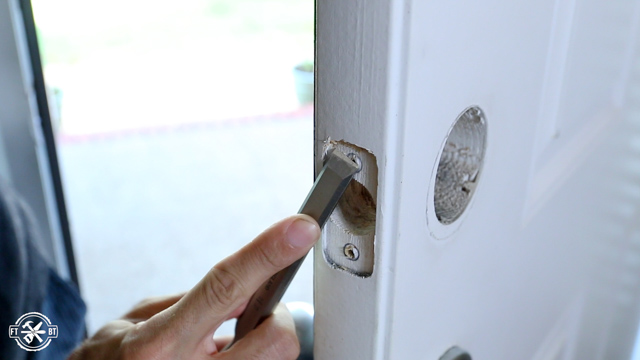
I secured it with the mounting screws and tested the deadbolt fit in my current setup.

The reinforcement plate for the deadbolt didn’t fit the current opening either so I widened it the same way as before with my drill and chisel.
Unfortunately when I put the lock in it did not fit like it should. When I tested it, the lock didn’t actually go into the hole. I used a trick to fix this, and all I needed was a tube of lipstick and my chisel. I extended the lock out and put the lipstick on the lock wherever I thought it was hitting.
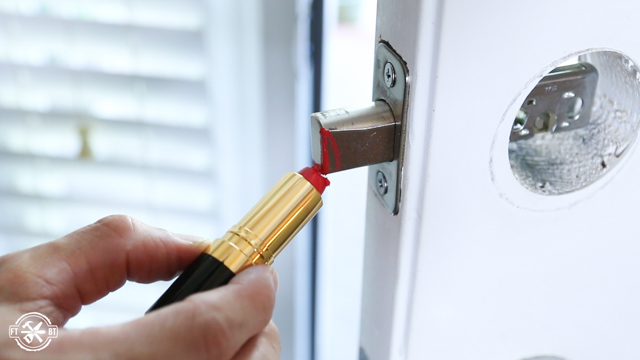
Then I closed the door and attempted to lock it a few times. When I opened the door I could see wherever the red lipstick has transferred and I knew I needed to chisel that section down in order for the lock to be able to close.
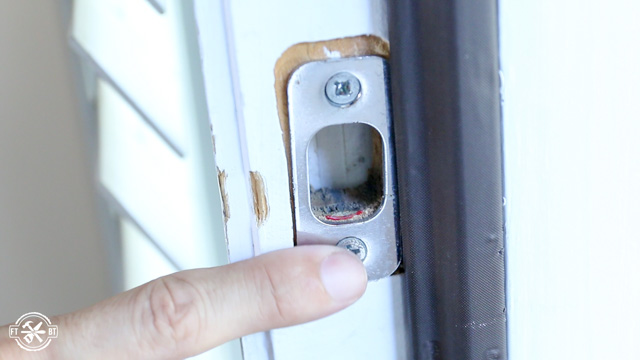
I used my chisel to remove a good amount of wood where I found the red lipstick
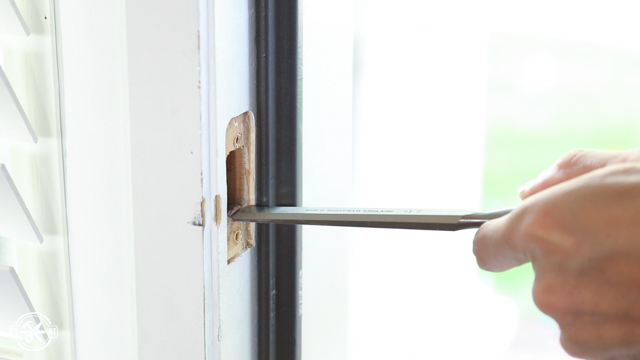
After adjusting the opening, the lock was able to close fully.
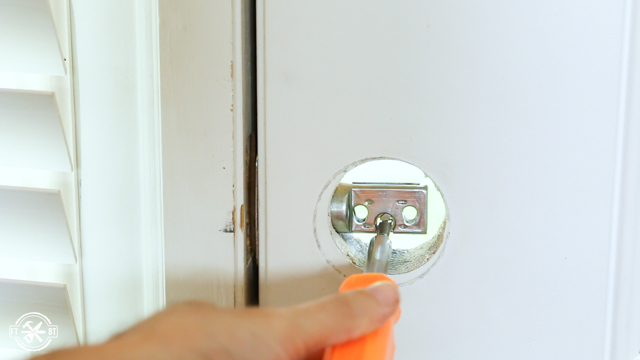
The reinforcement plate didn’t fit the current opening either, so I widened it the same way as before using my drill and chisel.
2. Attach Reinforcement Plate and Strike Plate for Door Lock
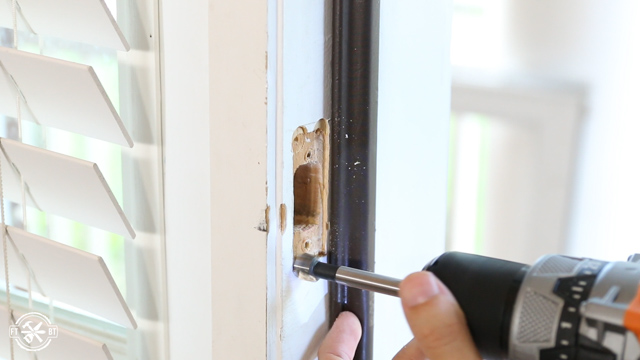
The strike plate is actually a bit thicker then my opening so I used my chisel to deepen the opening as well.
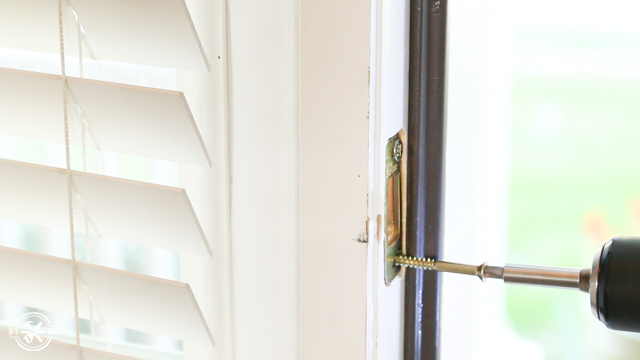
The reinforcement plate that goes under the strike plate is a major upgrade versus the lock I was using before. As you saw the only thing my prior deadbolt had was a strike plate and smaller screws. This Schlage Connect lock has the reinforcement plate that goes under the strike place that is anchored by these large reinforcement screws. The standard strike plate gets installed right on top of it.
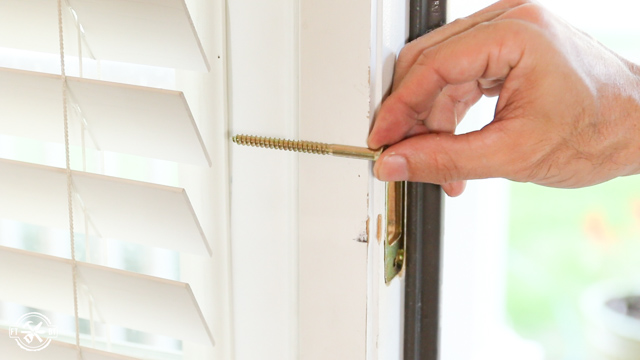
If you use the extra long reinforcement screws, you can keep the BHMA rating of a grade one. This means that your deadbolt is now connected to the frame of the door which helps secure the entire door.
3. Install Wireless Door Lock
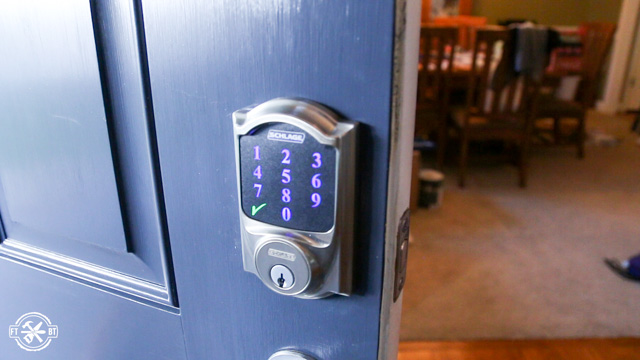
Next I was ready for the touch screen keypad to be installed. The keypad is fingerprint resistant and backlit. The one I have here is the Schlage Connect Touchscreen Deadbolt with Alarm. It’s the Camelot model and this one also comes with a matching handleset as well.
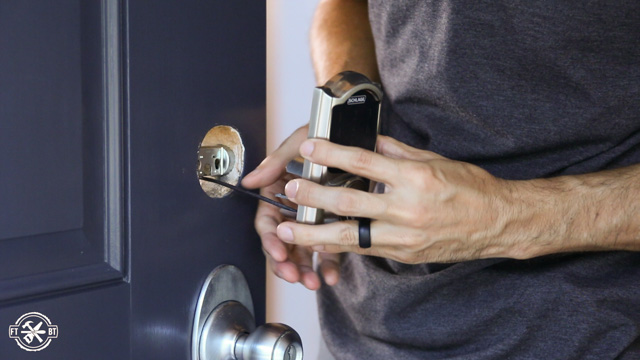
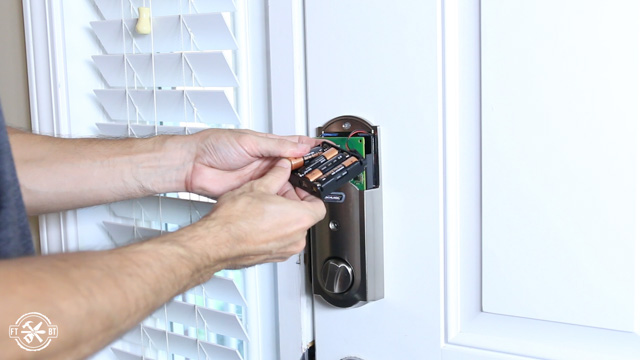
It has a communication and power wire that feeds through to the inside of the door. The inside unit is the brains of the operation and houses the battery power supply, the mother board, and the speaker for the alarm.
The keypad is held in place by a mounting plate on the inside and the indoor unit is screwed on to this as well.
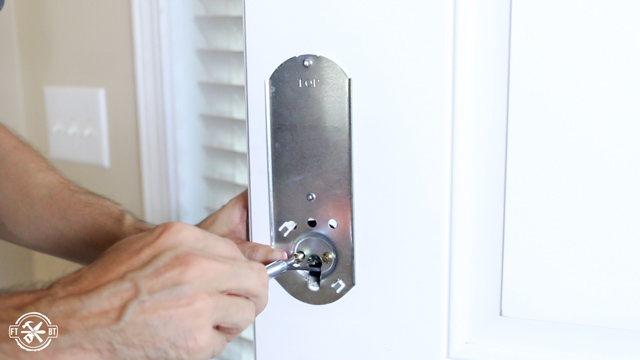
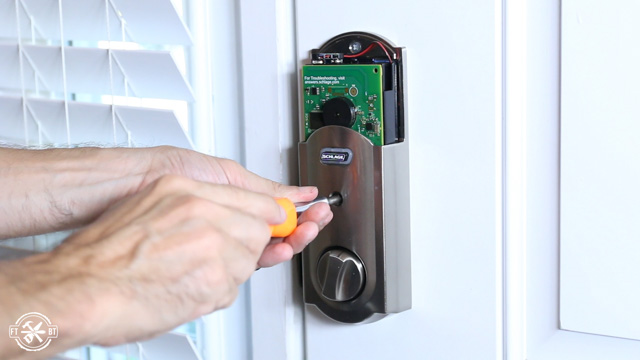
The only hook ups to make are the communication wire and installing batteries in the unit. And with that the lock is ready to go and initialized with a code.
I also installed the matching handleset which is just plug and play like a normal knob.
4. Program Key Codes to the Keyless Door Lock
The lock comes with two default codes but new codes can be added and removed manually. You just enter the programming code, hit 1 for new codes then enter the new code twice.
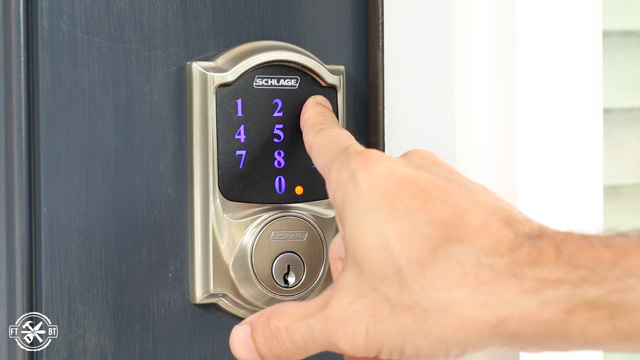
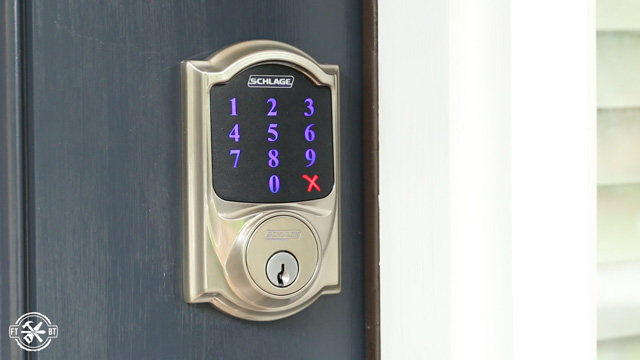
There are also several features that can be toggled on and off manually including changing the length of the passcode to either 4, 5 or 6 digits, turning the keypad beeping on or off and setting a vacation mode where all codes will be denied.
https://fixthisbuildthat.com/